
What Should an Aligner Starter Kit Include? A Component Checklist
A component-by-component checklist for clear aligner patient kits — the four daily jobs a kit has to cover, how the contents change by treatment stage, and why clinic kits and brand kits need different things.
📋 Key Facts
- •A complete aligner starter kit covers four daily jobs: storage, removal, seating and cleaning, plus presentation packaging
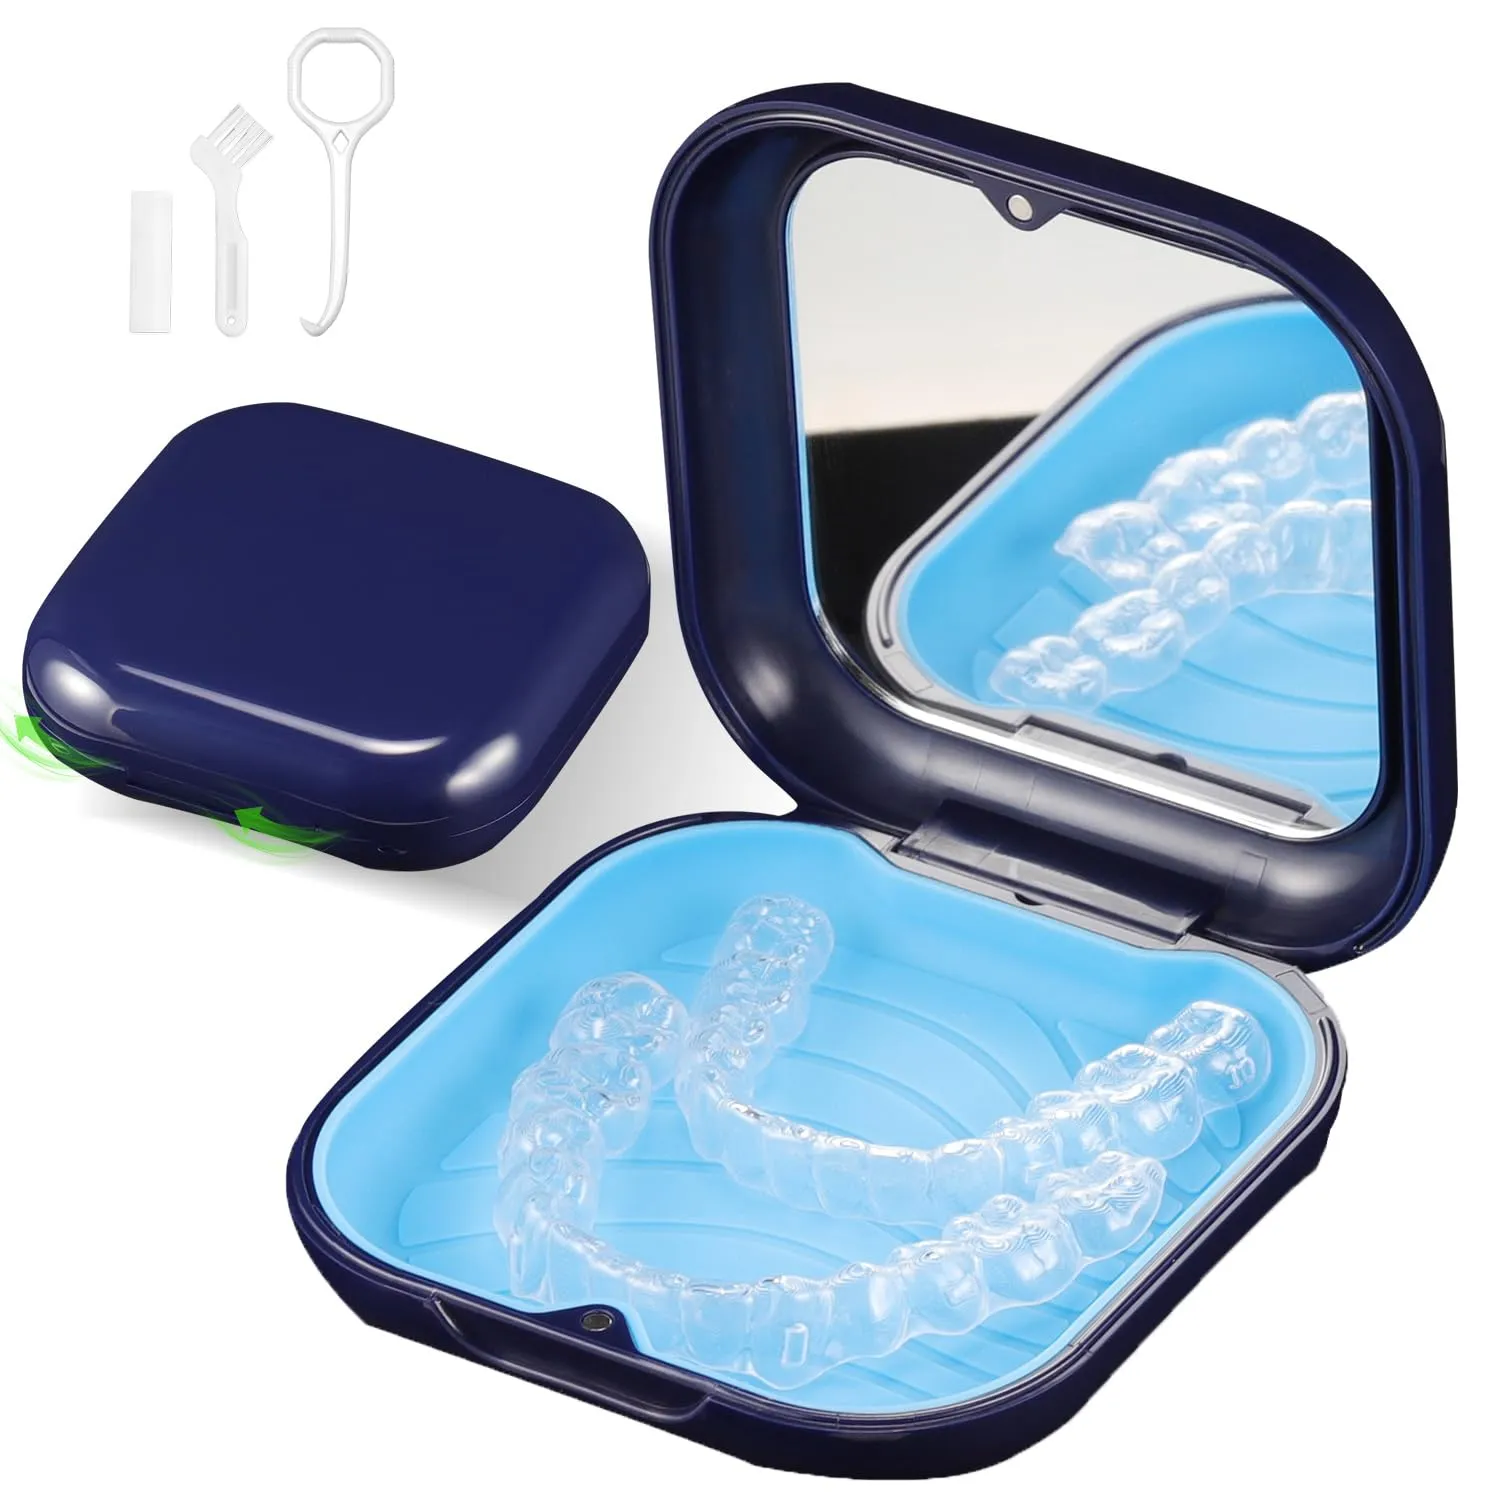
- •A standard Uvcare aligner starter kit covers all four jobs with five components: a gift box, a gift bag, a Classic V1 aligner case, a 2-in-1 aligner remover and chewie, and an aligner cleaning brush
- •The removal tool and the chewie belong together because one takes the aligner out and the other seats it back on
- •Kit contents should change by treatment stage: a full set at first handover, consumables at mid-treatment, and case plus cleaning item in retention
- •Clinic kits and aligner brand kits use similar components but different priorities: clinics weigh cost per patient and practical use, brands weigh coherence and unboxing quality
- •Adding components raises the cost of every kit and adds decisions for a patient who is new to aligner care
- •An item belongs in a first kit only if removing it would leave a daily job uncovered
- •The gift box insert is cut to the selected component set, so adding a component later means re-cutting the insert
There is no single official specification for an aligner starter kit. Suppliers, clinics and brands each assemble their own version, which is why two products sold under the same name can arrive with very different contents. The useful question is not how many items a kit contains, but whether it covers every job the patient has to perform every day.
This guide works through that question: the four daily jobs a kit has to cover, what each component actually does, how the contents should change with the treatment stage, and where a clinic kit and an aligner brand kit genuinely diverge. It deals with what belongs in a kit, not with how to source one — the private-label aligner care kit guide covers the sourcing and brief stage.
Quick Answer: A Kit Is Complete When It Covers Four Jobs
Storage, removal, seating and cleaning. Packaging is the fifth element, because it is what turns separate parts into one handover. A standard Uvcare aligner starter kit covers all four jobs with five components.
| Component | Daily job it covers | What is missing when it is absent |
|---|---|---|
| Aligner case | Storage between meals and overnight | Aligners are more likely to be lost, cracked, or thrown away with a napkin |
| Removal tool | Lifting the aligner out | Patients use fingernails or improvised tools, which risks the aligner edge |
| Chewie | Seating the aligner fully onto the teeth | The aligner may not seat fully, and the patient has no way to correct it |
| Aligner cleaning brush | Physical cleaning of the aligner surface | Buildup and clouding over time, with patients improvising with a standard toothbrush |
| Gift box and gift bag | Handover and presentation | The parts arrive as a loose collection rather than a programme |
Four jobs, five components. A kit that covers fewer than four is incomplete. A kit that carries more than five is not automatically better — see the section on overfilled kits below.
What Each Component Actually Does
The reason a component belongs in the kit is that the patient has a job to do and no good alternative tool for it. That is the test to apply when deciding whether something earns its place.
- The case is the daily object, not the accessory. It is the only item the patient handles several times a day, which is why it carries the most brand exposure. A case with a mirror also gives the patient somewhere to check the aligner before putting it back in. See the Classic Aligner Case V1 →
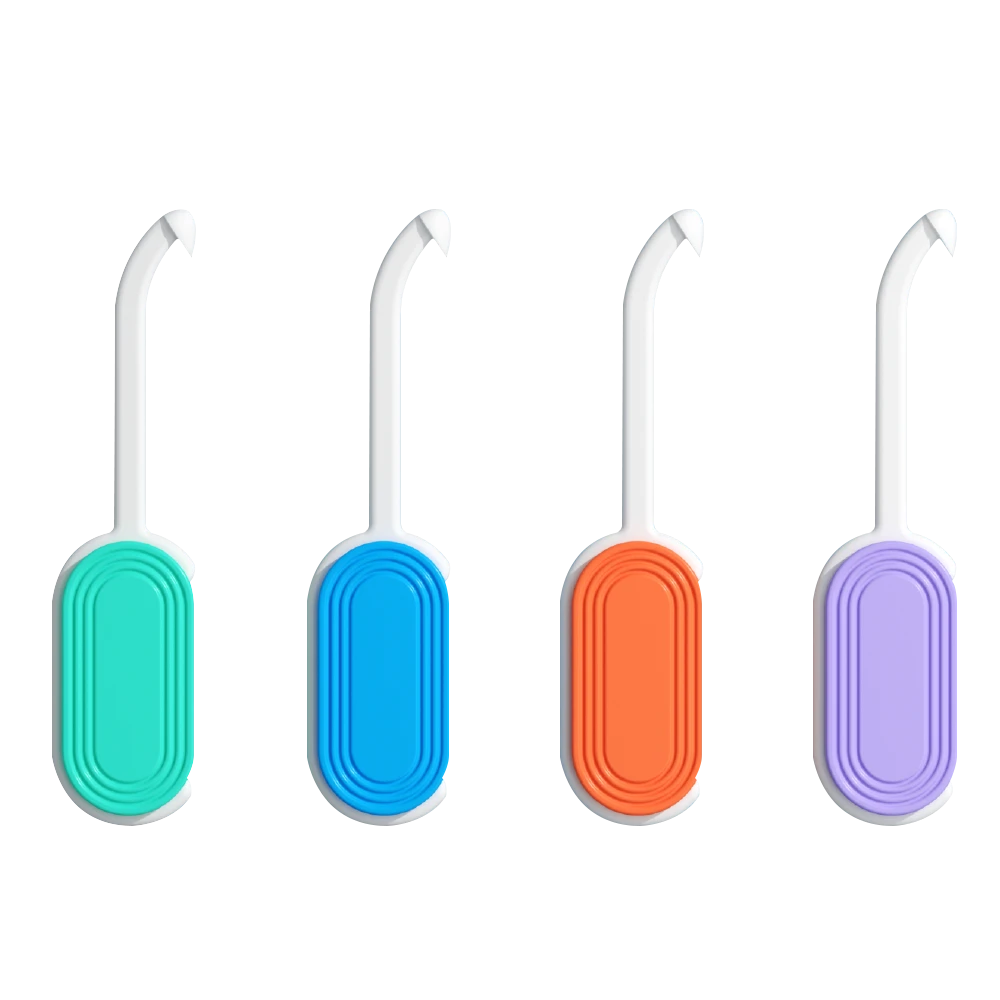
- The removal tool protects the aligner edge. Pulling an aligner out with a fingernail distorts the material at the point it is lifted. A removal hook spreads that force and gives the patient a repeatable method. See the 2-in-1 remover and chewie →
- The chewie is a seating tool, not a comfort extra. Its job is to press the aligner fully onto the teeth after it is inserted, which is why it belongs with the removal tool rather than in a separate add-on category.
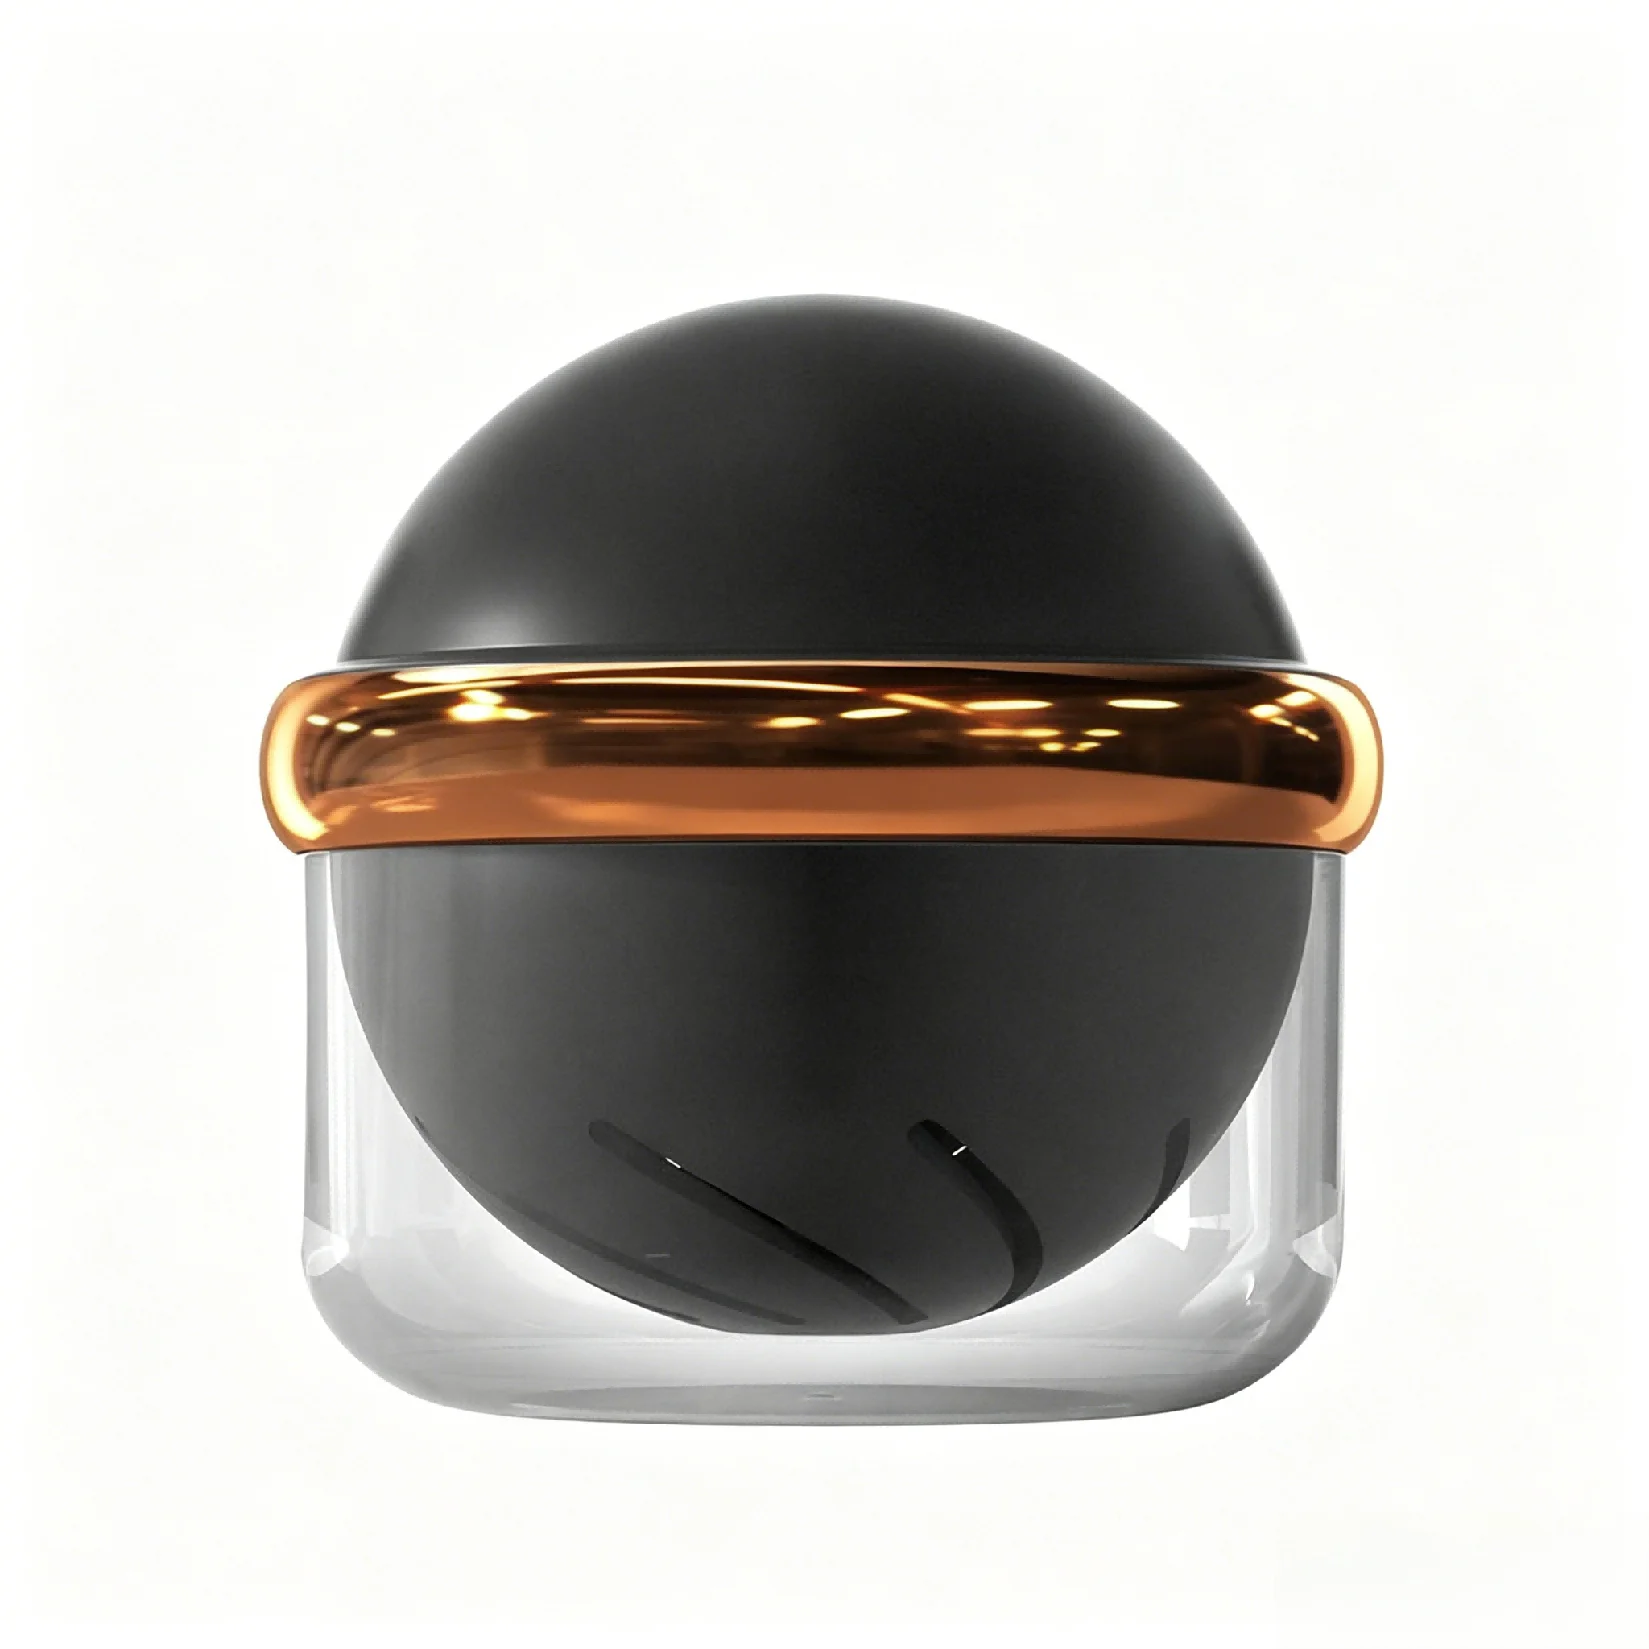
- The cleaning brush is aligner-specific for a reason. A standard toothbrush is designed for teeth and gums, with a shape and bristle stiffness chosen for that job. An aligner brush is sized to clean the inside of an aligner without scratching it.
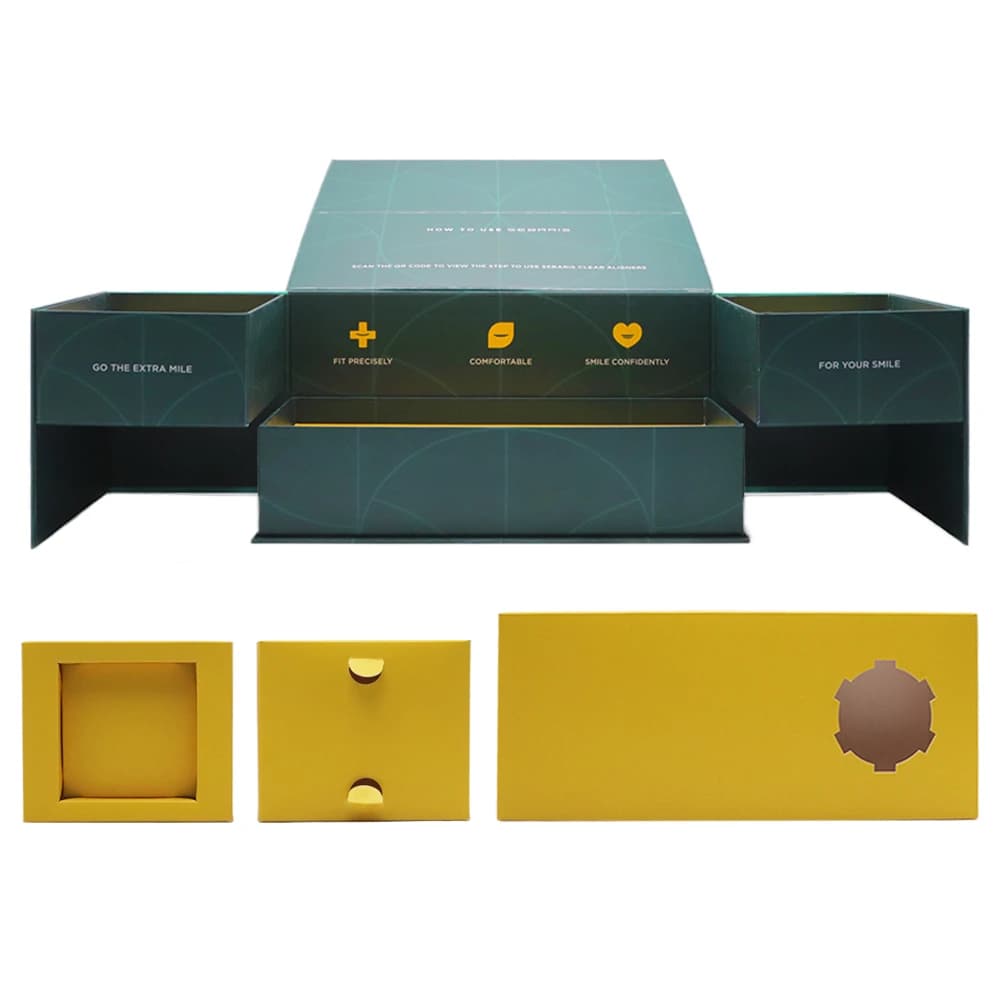
- Packaging is what makes the parts a kit. Without a box and bag, the same components arrive as a bundle. Packaging is also where a brand gets its only guaranteed patient touchpoint, because the box is kept even after the consumables are used up.
For patient-facing cleaning guidance, see our guide to the daily aligner care routine.
Sizing the Kit to the Treatment Stage
The same kit is not right for every moment in treatment. The contents should match what the patient is being asked to do at that stage.
| Stage | What the kit has to achieve | Components to prioritise |
|---|---|---|
| First handover | Establish the daily routine and make the programme feel complete | Case, removal tool, chewie, cleaning brush, presentation packaging |
| Mid-treatment | Replace what the patient has used up without repeating the full kit | Chewies, cleaning items, brushes |
| Retention | Store and maintain a finished result | Case, cleaning item |
Splitting the contents by stage is what keeps a first kit affordable without making it feel thin. A first handover kit earns its cost by covering every job. A replenishment kit only needs to restock the items that actually wear out.
Clinic Kit vs Aligner Brand Kit
Both buyers ask for "a patient kit", and they usually mean different things. The components overlap, but the priority does not.
| What the buyer weighs | Clinic or clinic group | Aligner brand |
|---|---|---|
| Primary goal | That patients use the right tool correctly at home | That the handover experience represents the brand |
| Branding priority | Clinic identity, often on the packaging and case | One consistent identity across every component |
| Component emphasis | Practical items and consumables that get used | A complete, presentable set that holds together visually |
| Decision driver | Cost per patient while keeping the kit genuinely useful | Coherence, unboxing quality, and how the kit reads as a product |
A clinic that treats the kit as a consumable will usually get more value from a tighter kit that patients actually use. A brand selling the kit as part of a treatment package usually needs the packaging and the component set to match, even where that raises the cost.
The Overfilled Kit Problem
Adding components feels like adding value. In a patient kit it often does the opposite, for three reasons.
- Every extra component raises the cost of every kit. An item the patient never uses still has to be sourced, branded, packed and shipped in every single kit.
- More components mean more decisions at exactly the wrong moment. The patient opens the kit as a beginner. A short set of tools with clear jobs gets used; a crowded box invites the patient to skip the parts they do not understand.
- Each addition has to stay visually consistent. Every extra branded part is another colour match, another logo placement and another item that can drift away from the rest of the set between production runs.
The practical test is whether removing a component would leave a daily job uncovered. If the job is still covered by something else in the box, the component is duplication.
What to Leave Out of a First Kit
A first kit is easier to launch and easier to defend when it covers the four jobs and stops there. These are the cases where an item is better held back:
- An item that repeats a job already covered. Two tools that both lift the aligner add cost without adding capability.
- Anything the patient has to be taught separately. If it needs its own instruction card, it needs to earn that space in the box.
- Consumables with a different replacement cycle. Items that run out at a very different rate from the rest create a restocking problem rather than a benefit.
- Anything that forces a new insert layout. The insert is cut to the component set, so adding a component later means re-cutting the insert and re-sampling the box.
Once a first kit is proven, adding a component is a packaging decision as much as a product decision. Buyers who want to test a component combination before committing to packaging can lay out a preliminary configuration with the kit builder.
Turning the Checklist Into an Order
Two routes follow from this checklist. Buyers who want a defined starting point can take the standard five-piece starter kit, which already covers the four jobs and carries your logo from 500 complete sets. Buyers who need a different component set can plan it through custom aligner care kit manufacturing.
Regional programmes that follow the same checklist are covered in our sourcing guides for U.S. dental brands and Australian orthodontic clinics.
Send your component list to Uvcare for a kit recommendation →
💬 Frequently Asked Questions
What should an aligner starter kit include?+
How many items should an aligner starter kit have?+
What is the difference between an aligner kit and a general orthodontic patient kit?+
Should a clinic kit and an aligner brand kit contain the same items?+
Do I need custom packaging, or can I just add my logo to the products?+
What is the smallest kit that still works?+
Related Products
Related Articles
Interested in our solutions?
Contact us for bulk pricing and OEM customization.